这篇文章主要介绍了yii2实现Ueditor百度编辑器的示例代码,小编觉得挺不错的,现在分享给大家,也给大家做个参考。一起跟随小编过来看看吧
今天在网上看了下有关图片上传的教程,历经挫折才调试好,现在把相关代码及其说明贴出来,以供初次使用的朋友们参考。
资源下载
yii2.0-ueditor下载路径:yii2-ueditor-jb51.rar
效果演示:
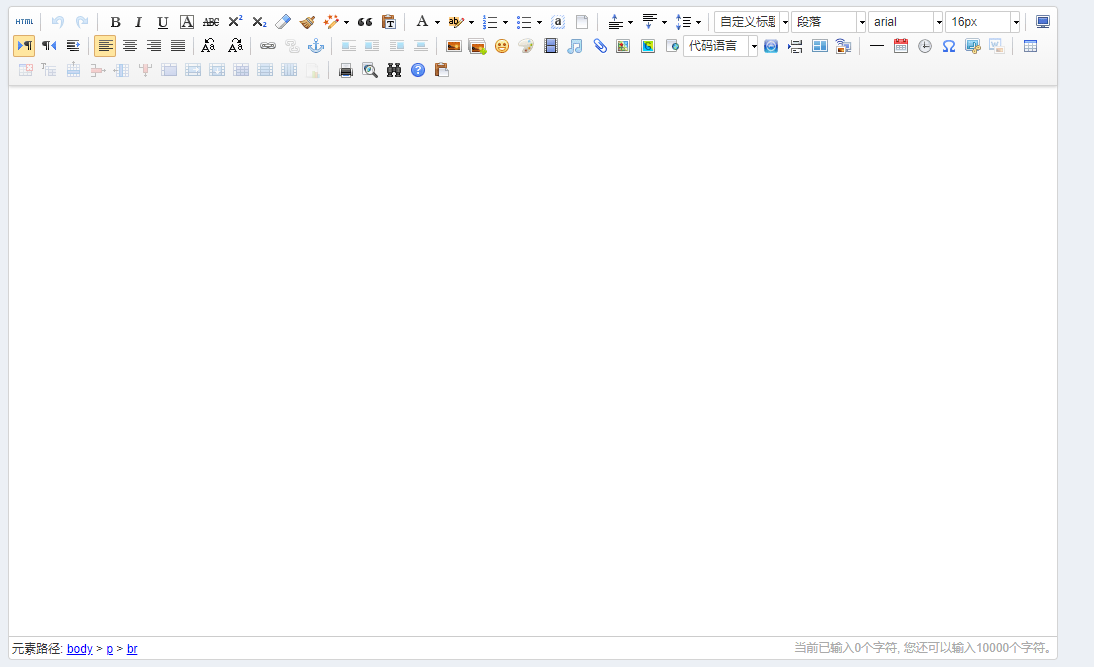
安装方法:
1.下载yii2-ueditor
2.将下载的yii2-ueditor-master 修改 ueditor (注意:修改成其他文件名请修改插件内对应的命名空间)
3.将文件方在 根目录/common/widgets 下即可
调用方法:
在backend/controllers中新建一个控制器Demo加入以下代码
public function actions(){
 return [
 'ueditor'=>[
  'class' => 'common\widgets\ueditor\UeditorAction',
  'config'=>[
  //上传图片配置
  'imageUrlPrefix' => "", /* 图片访问路径前缀 */
  'imagePathFormat' => "/image/{yyyy}{mm}{dd}/{time}{rand:6}", /* 上传保存路径,可以自定义保存路径和文件名格式 */
  ]
 ]
 ];
}
第一种调用方式:
在对应的渲染页面,即views下的页面中
<?=common\widgets\ueditor\Ueditor::widget(['options'=>['initialFrameWidth' => 850,]])?>options 填写配置编辑器的参数(参考ueditor官网)
第二种调用方式:
<?php $form = ActiveForm::begin(); ?>

<?= $form->field($model, 'title')->textInput(['maxlength' => true]) ?>

<?= $form->field($model, 'content')->widget('common\widgets\ueditor\Ueditor',[
 'options'=>[
 'initialFrameWidth' => 850,
 ]
]) ?>

 ...

<?php ActiveForm::end(); ?>
yii2框架整合了百度编辑器,因为文件上传采用的是yii2自带的UploadedFile,这就难免umeditor上传不成功问题,解决问题的只需要两个操作步骤,我们来看看具体实现
创建一个 common/models/Upload.php:代码为:
<?PHP
namespace common\models;

use yii\base\Model;
use yii\web\UploadedFile;

/**
 * UploadForm is the model behind the upload form.
 */
class Upload extends Model
{
 /**
 * @var UploadedFile file attribute
 */
 public $file;

 /**
 * @return array the validation rules.
 */
 public function rules()
 {
 return [
  [['file'], 'file'],
 ];
 }
}
需要在刚刚创建的那个控制器Demo里添加actionUploadImage方法处理“富文本框的图片上传”内容
use yii\web\UploadedFile;
use common\models\Upload;
/**
 * 富文本框的图片上传
 * @return array
 */
 public function actionUploadImage()
 {
 $model = new Upload();
 if (Yii::$app->request->isPost) {
  $model->file = UploadedFile::getInstance($model, "file");
  $dir = '/uploads/ueditor/';//文件保存目录
  if (!is_dir($dir))
  mkdir($dir);
  if ($model->validate()) {
  $fileName = $model->file->baseName . "." . $model->file->extension;
  $dir = $dir."/". $fileName;
  $model->file->saveAs($dir);
  $info = [
   "originalName" => $model->file->baseName,
   "name" => $model->file->baseName,
   "url" => $dir,
   "size" => $model->file->size,
   "type" => $model->file->type,
   "state" => "SUCCESS",
  ];
  exit(json_encode($info));
  }
 }
 }
特别提醒:上述返回的$info信息中state状态只能是SUCCESS,区分大小写
视图文件
<?php
use yii\widgets\ActiveForm;
?>

 <?= $form->field($model, 'content')->widget('common\widgets\ueditor\Ueditor',[
 'options'=>[
  'initialFrameWidth' => 1050,//宽度
  'initialFrameHeight' => 550,//高度
 ]
 ]) ?>
<div class="form-group">
 <?= Html::submitButton('保存', ['class' => 'btn btn-success']) ?>
 </div>

<?php ActiveForm::end() ?>
其中content是字段名称
关于图片上传的可以看下:
在YII2框架中使用UEditor编辑器发布文章的地址:
以上就是本文的全部内容,希望对大家的学习有所帮助,也希望大家多多支持编程学习网。
本文标题为:yii2实现Ueditor百度编辑器的示例代码


- laravel通用化的CURD的实现 2023-03-17
- 用nohup命令实现PHP的多进程 2023-09-02
- Laravel balde模板文件中判断数据为空方法 2023-08-30
- PHP中PDO事务处理操作示例 2022-10-15
- windows下9款一键快速搭建PHP本地运行环境的好工具(含php7.0环境) 2023-09-02
- PHP简单实现二维数组的矩阵转置操作示例 2022-10-02
- PHP仿tp实现mvc框架基本设计思路与实现方法分析 2022-10-18
- PHP实现微信支付(jsapi支付)流程步骤详解 2022-10-09
- laravel实现按月或天或小时统计mysql数据的方法 2023-02-22
- php微信公众号开发之秒杀 2022-11-23
