这篇文章主要为大家详细介绍了NancyFx框架检测任务管理器的相关资料,具有一定的参考价值,感兴趣的小伙伴们可以参考一下
本文为大家分享了NancyFx框架检测任务管理器的具体方法,供大家参考,具体内容如下
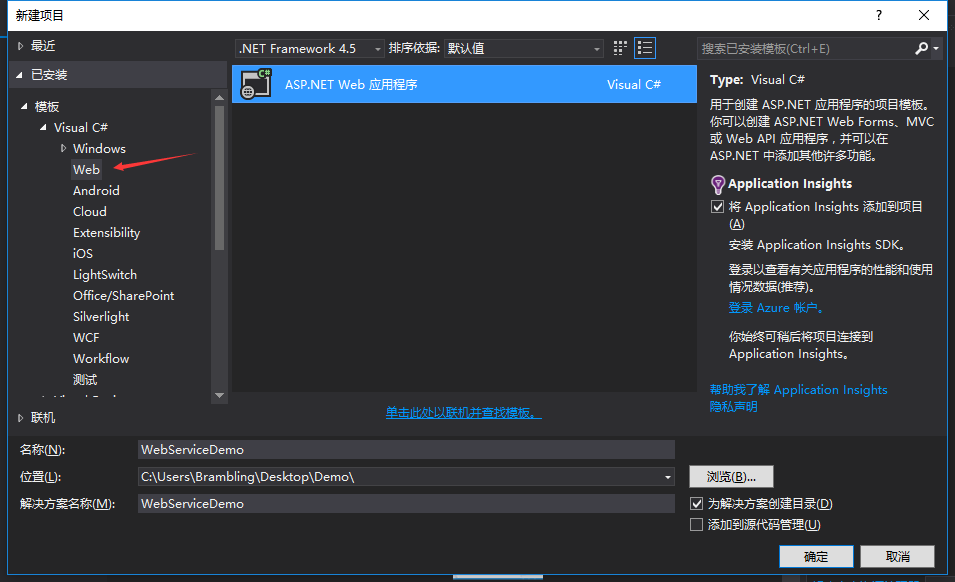
先建一个空的项目和之前的NancyFx系列一样的步骤
然后建三个文件夹Models,Module,Views
然后分别安装一下组件
jQuery
Microsoft.AspNet.SignalR
Microsoft.Owin
Nancy
Nancy.Owin
然后往Model类里面添加CPUHub类,Broadcaster类
CPUHub类
public class CPUHub:Hub
  {
    private readonly Broadcaster broadcaster;
    public CPUHub():this(Broadcaster.broadcaster)
    {

    }
    public CPUHub(Broadcaster broadcaster)
    {
      this.broadcaster = broadcaster;
    }
  }
Broadcaster类
public class Broadcaster
  {
    private readonly static Lazy<Broadcaster> lazy = new Lazy<Broadcaster>(()=>new Broadcaster(GlobalHost.ConnectionManager.GetHubContext<CPUHub>().Clients));

    private readonly TimeSpan timeSpan = TimeSpan.FromMilliseconds(1000);
    private readonly Timer timer;
    public static Broadcaster broadcaster
    {
      get { return lazy.Value; }
    }
    private IHubConnectionContext hubConnectionContext
    {
      get;
      set;
    }
    private Broadcaster(IHubConnectionContext hubConnectionContexts)
    {
      hubConnectionContext = hubConnectionContexts;
      timer = new Timer(BroadcastCpuUsage,null,timeSpan,timeSpan);
    }
    private void BroadcastCpuUsage(object o)
    {
      string cpu = GetCurrentCpu();

    }
    private string GetCurrentCpu()
    {
      string currentCpu = "";
      HttpClient httpClient = new HttpClient();
      httpClient.BaseAddress = new Uri("http://localhost:3039");
      var response = httpClient.GetAsync("api/cpu").Result;
      if (response.IsSuccessStatusCode)
      {
        currentCpu = response.Content.ReadAsStringAsync().Result;
      }
      return currentCpu;
    }
  }
然后在往Module里面添加CPUModule类
public class CPUModule:NancyModule
  {
    PerformanceCounter performanceCounter;
    public CPUModule():base("api/cpu")
    {
      InitializePerformanceCounter();
      Get("/",Lexan=>
      {
        int cpu = (int)Math.Ceiling(performanceCounter.NextValue());
        return Response.AsText(cpu.ToString());
      });
    }
    private void InitializePerformanceCounter()
    {
      performanceCounter = new PerformanceCounter();
      performanceCounter.CategoryName = "";
      performanceCounter.CounterName = "";
      performanceCounter.InstanceName = "";
      performanceCounter.NextValue();
      Thread.Sleep(1000);
    }
  }
然后添加index.html页面在根目录下
<!DOCTYPE html>
<html>
<head>
  <title>NancyTaskManager</title>
</head>
<body>
  <label id="lblVal"></label>
  <br />
  <canvas id="cvPercentage"></canvas>
  <br />
  <br />
  <canvas id="cvGraph" height="450" width="600"></canvas>
  <script src="U2NyaXB0cy9qcXVlcnktMi4xLjAuanM="></script>
  <script src="U2NyaXB0cy9qcXVlcnkuc2lnbmFsUi0yLjAuMi5qcw=="></script>
  <script src="U2NyaXB0cy9DaGFydC5qcw=="></script>
  <script src="L3NpZ25hbHIvaHVicw=="></script>
  <script src="U2NyaXB0cy90YXNrTWFuYWdlci5qcw=="></script>
</body>
</html>
继续往根目录里面添加Startup类
[assembly:OwinStartup(typeof( NancyFxTaskManager.Startup))]
namespace NancyFxTaskManager
{
  public class Startup
  {
    public void Configuration(IAppBuilder app)
    {
      app.MapSignalR().UseNancy();

    }
  }
}
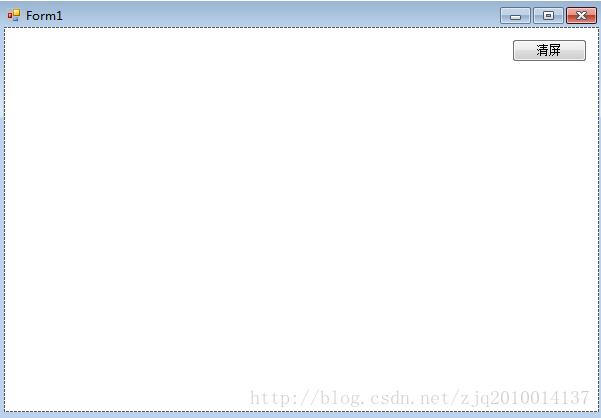
好了我们准备就绪,看看运行效果
以上就是本文的全部内容,希望对大家的学习有所帮助,也希望大家多多支持编程学习网。
沃梦达教程
本文标题为:NancyFx框架检测任务管理器详解


猜你喜欢
- 如何使用C# 捕获进程输出 2023-03-10
- c# 模拟线性回归的示例 2023-03-14
- Unity Shader实现模糊效果 2023-04-27
- WPF使用DrawingContext实现绘制刻度条 2023-07-04
- user32.dll 函数说明小结 2022-12-26
- 在C# 8中如何使用默认接口方法详解 2023-03-29
- Unity3D实现渐变颜色效果 2023-01-16
- .NET CORE DI 依赖注入 2023-09-27
- C# 使用Aspose.Cells 导出Excel的步骤及问题记录 2023-05-16
- Oracle中for循环的使用方法 2023-07-04