硬件:Raspberry Pi 3B系统:Windows 10 IOT Core应用:.Net Core Web部署流程1. 系统安装1.1 下载并安装 Windows 10 IoT Core Dashboard,使用该工具将 Flash.FFU 映像文件刷入 SD 卡。https://docs.microsof...

硬件:Raspberry Pi 3B
系统:Windows 10 IOT Core
应用:.Net Core Web
部署流程
1. 系统安装
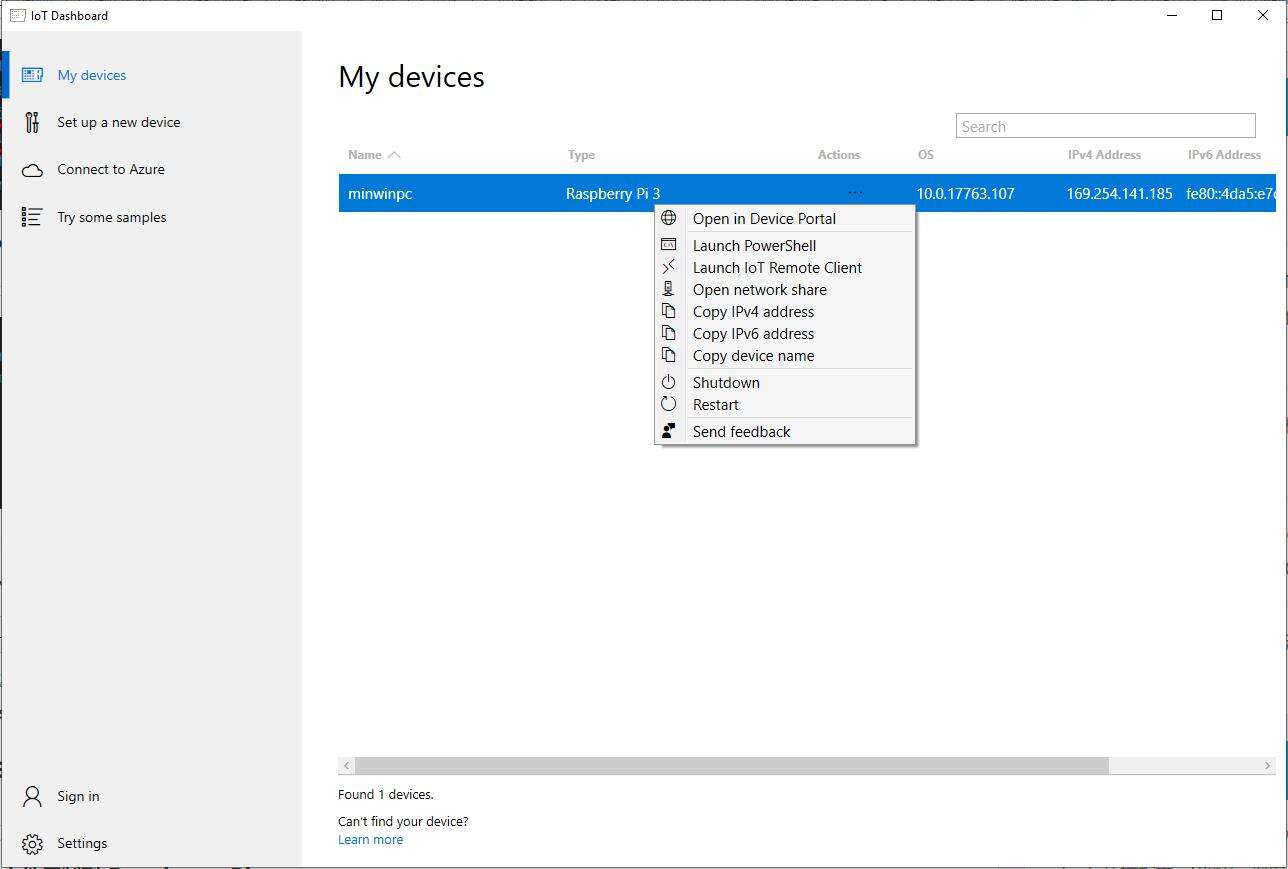
1.1 下载并安装 Windows 10 IoT Core Dashboard,使用该工具将 Flash.FFU 映像文件刷入 SD 卡。
https://docs.microsoft.com/en-us/windows/iot-core/downloads

1.2 Flash.FFU 映像刷入完成后,即可插入树莓派进行 Windows Iot 系统启动。
2. 应用发布
2.1 创建 .Net Core Web 应用,添加 5000 端口监听地址(这里硬编码为Demo测试用)。

2.2 配置发布参数:
Target Framework = netcoreapp 3.0
Deployment Mode = Self-Contained
Target Runtime = win-arm

3. 应用部署
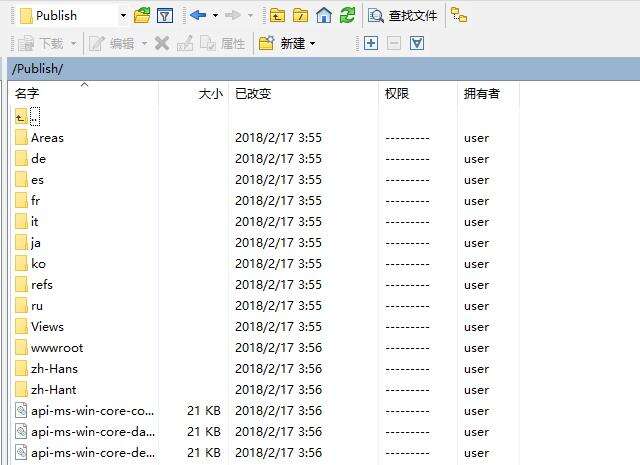
3.1 启用 Windows IoT 的 FTP 管理,将发布文件上传至 Raspberry Pi。
使用 PowerShell 或者 Device Portal 运行命令:
start C:\Windows\System32\ftpd.exe
3.2 配置防火墙。
使用 netsh 工具配置防火墙,命令:
netsh advfirewall firewall add rule name=”ASP.NET Core Web Server port” dir=in action=allow protocol=TCP localport=5000
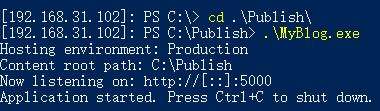
3.3 启动应用
在 Raspberry Pi 上切换至上传后的 .Net Core Web 应用目录,运行 .exe 即可。
参考资料
https://www.cnblogs.com/zhanggaoxing/p/8452249.html
本文标题为:[IOT] - Raspberry Pi 3B + Windows 10 IOT Core + .Net Core Web 部署


- Unity Shader实现模糊效果 2023-04-27
- user32.dll 函数说明小结 2022-12-26
- Unity3D实现渐变颜色效果 2023-01-16
- c# 模拟线性回归的示例 2023-03-14
- Oracle中for循环的使用方法 2023-07-04
- C# 使用Aspose.Cells 导出Excel的步骤及问题记录 2023-05-16
- 在C# 8中如何使用默认接口方法详解 2023-03-29
- 如何使用C# 捕获进程输出 2023-03-10
- .NET CORE DI 依赖注入 2023-09-27
- WPF使用DrawingContext实现绘制刻度条 2023-07-04